If you are an avid DIY enthusiast, you are likely familiar with the challenge of organizing your tools in a way that keeps them protected and accessible without causing clutter. Whether you’re a weekend warrior or an occasional handyman, finding a spot to store your essential DIY tools can often feel like an impossible task.
This disorganization can sap motivation and make it difficult to locate important tools and parts, leading to frustration and delays in your projects.
Fortunately, there are effective strategies to keep tools under control, out of the way, and easily accessible. This guide explores six tricks for organizing your DIY tools, ensuring you can quickly jump into any project whenever inspiration strikes.
1. Use Floating Storage
Floating storage is an innovative and efficient way to organize your tools while maximizing your space. Building floating shelving with magnetic strips is a great DIY project that can transform your home in a weekend.
Create a visually appealing and functional tool wall by integrating magnetic strips with floating shelves. Strong magnetic strips will securely hold metal tools, ensuring they are easy to grab and put back. Use the floating shelves to store non-metal tools or accessories, keeping all your tools visible and within easy reach.
Floating storage not only keeps your tools organized but also adds a decorative element to your workspace. This method maximizes vertical space and keeps your tools off the workbench, reducing clutter and making your tools more accessible. Here’s how to set up an effective floating storage system:
Steps to Create Floating Storage
- Choose the Location: Select a wall in your garage, workshop, or designated DIY area that can accommodate the floating shelves and magnetic strips.
- Install Magnetic Strips : Purchase strong magnetic strips designed to hold metal tools. Install these strips on the wall, ensuring they are securely attached.
- Build and Install Shelves: Construct floating shelves that complement your space and can hold non-metal tools and accessories. Secure these shelves to the wall at varying heights to maximize storage.
- Organize Your Tools: Arrange your metal tools on the magnetic strips and place non-metal tools and accessories on the floating shelves. Keep frequently used items at eye level for easy access.
Floating storage can be customized to fit your specific needs, making it a versatile solution for any DIY enthusiast.
2. Display Tools on a Pegboard
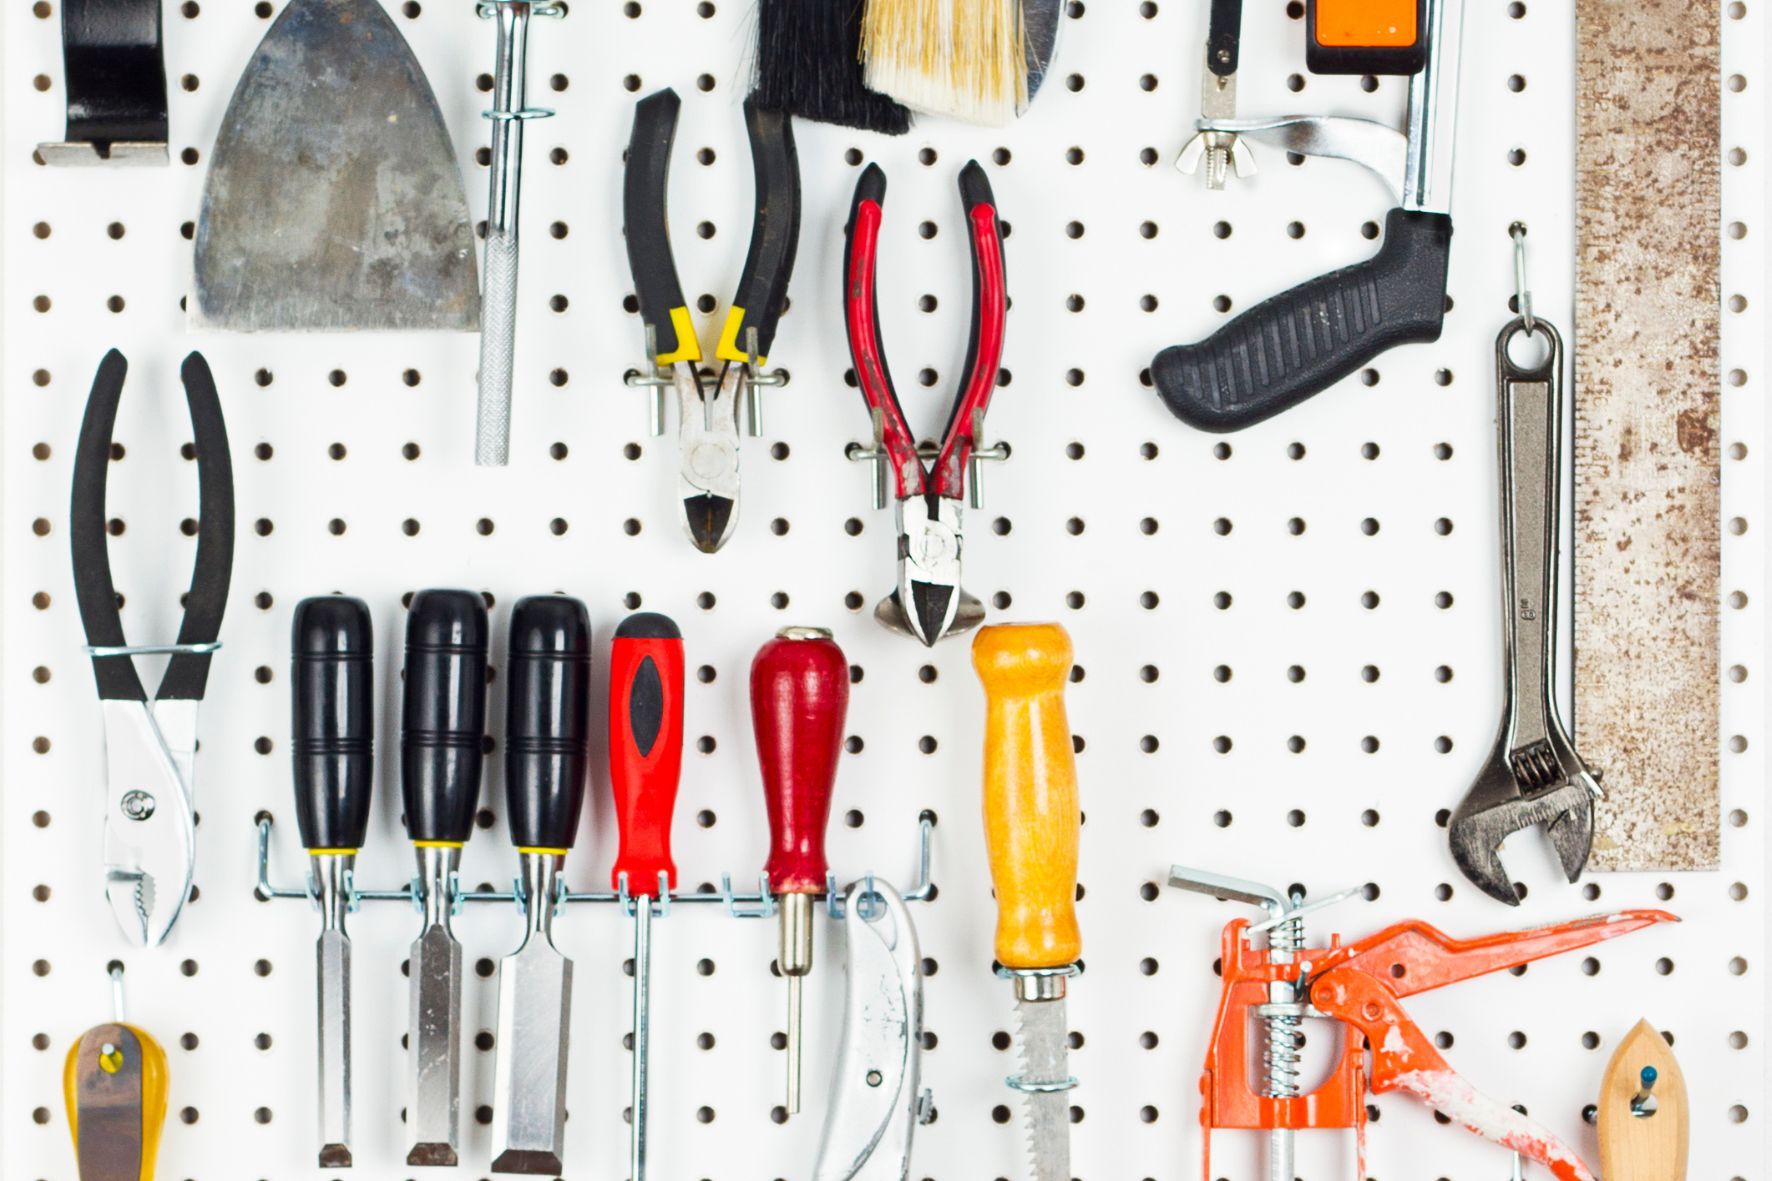
Pegboards are a classic and highly effective way to organize DIY tools. They offer flexible storage solutions that keep your most-used tools within easy reach near a workbench.
Pegboards are excellent for keeping DIY tools organized. You can tailor the arrangement to suit your needs, allowing you to hang hammers, screwdrivers, pliers, paintbrushes, and more. This setup ensures that tools are visible and easily accessible, reducing the likelihood of them getting lost in drawers.
A pegboard allows for a flexible arrangement and easy reorganization as your tool collection grows. Here’s how to set up a pegboard for your tools:
Steps to Set Up a Pegboard
- Choose the Location: Find a suitable wall space near your workbench or in your garage where the pegboard can be installed.
- Purchase a Pegboard and Accessories: Buy a sturdy pegboard along with a variety of hooks, shelves, and bins that fit into the pegboard holes.
- Install the Pegboard: Secure the pegboard to the wall using appropriate anchors and screws to ensure it can hold the weight of your tools.
- Organize Your Tools: Arrange your tools on the pegboard, keeping frequently used items within easy reach. Customize the layout to fit your needs and adjust as necessary.
A pegboard offers a highly customizable storage solution, allowing you to adapt the arrangement as your tool collection changes.

3. Repurpose Crates and Totes
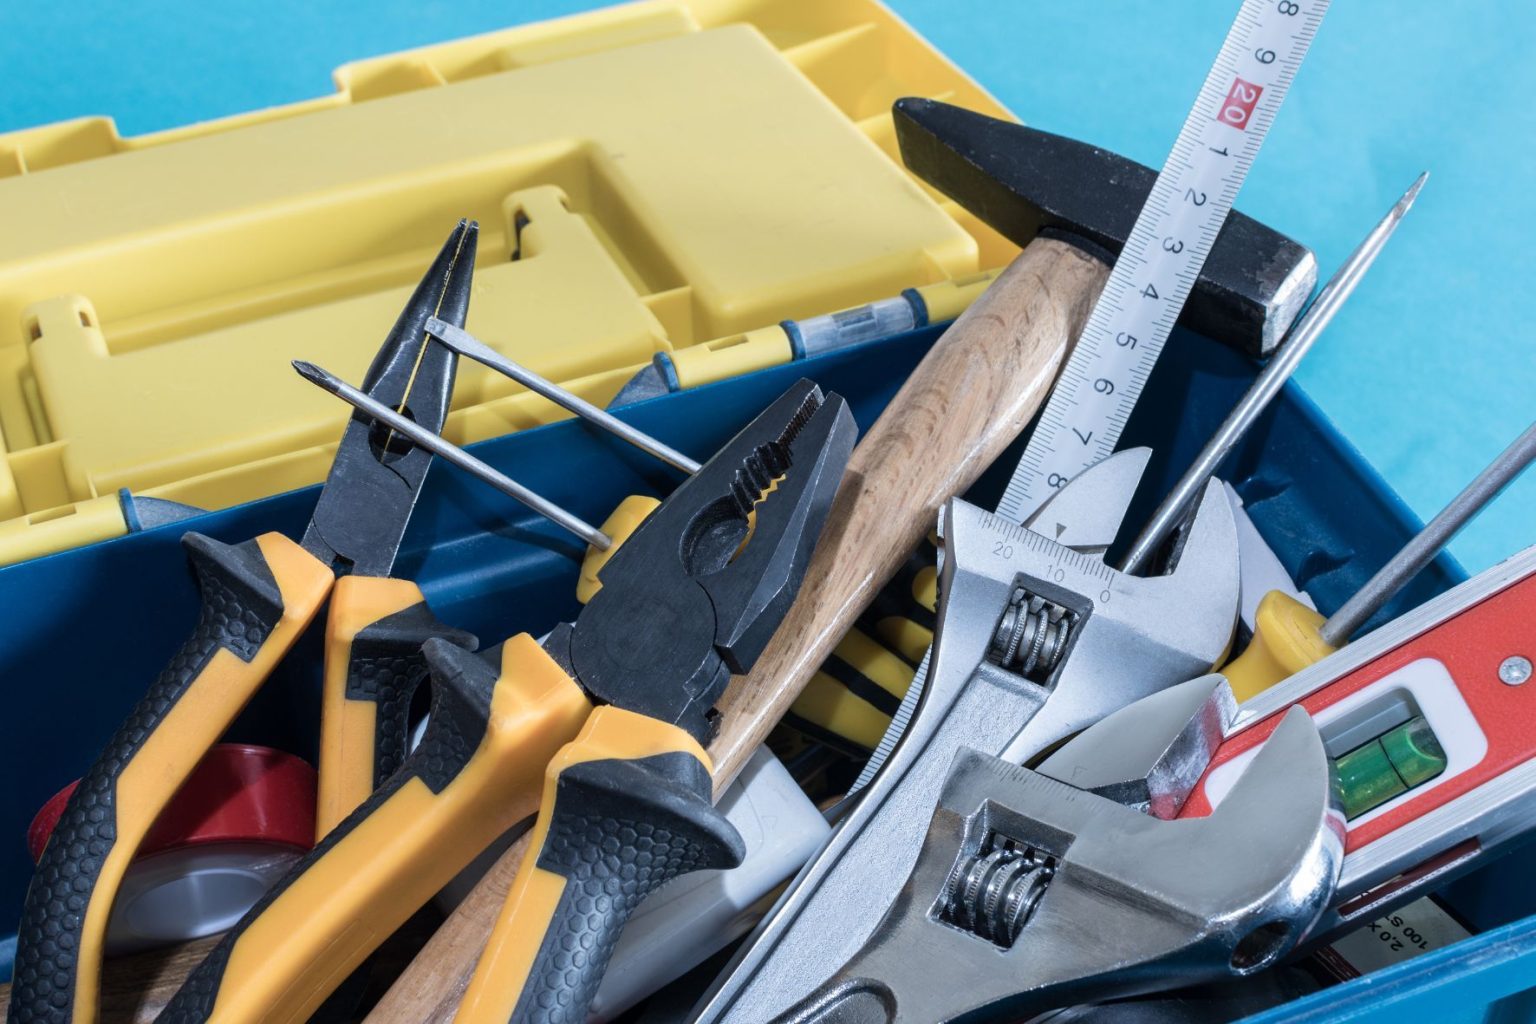
DIY tool storage ideas don’t have to be fancy. Repurposing old crates or sturdy baskets into mobile tool totes can be an effective and budget-friendly solution.
Add dividers inside to keep tools neatly organized and attach wheels to the bottom for easy mobility. These totes can be conveniently stored under workbenches or in closets and pulled out as needed, offering a flexible storage solution that keeps tools secure and well-organized.
Repurposing items you already have is a cost-effective way to organize your tools. Here’s how to create mobile tool totes using crates and totes:
Steps to Create Mobile Tool Totes
- Gather Materials: Find old crates, baskets, or totes that are sturdy enough to hold your tools. You will also need dividers and caster wheels.
- Add Dividers: Install dividers inside the crates or totes to keep tools separated and organized. You can use wood, plastic, or metal dividers, depending on your preference.
- Attach Wheels: Secure caster wheels to the bottom of the crates or totes to make them mobile. Ensure the wheels are strong enough to support the weight of the tools.
- Organize Your Tools: Place your tools in the totes, using the dividers to keep everything organized. Store the totes under workbenches or in closets and pull them out as needed.
Mobile tool totes are a flexible storage solution that allows you to easily transport your tools to different parts of your home or yard.
4. Group Smaller Items in Clear Containers
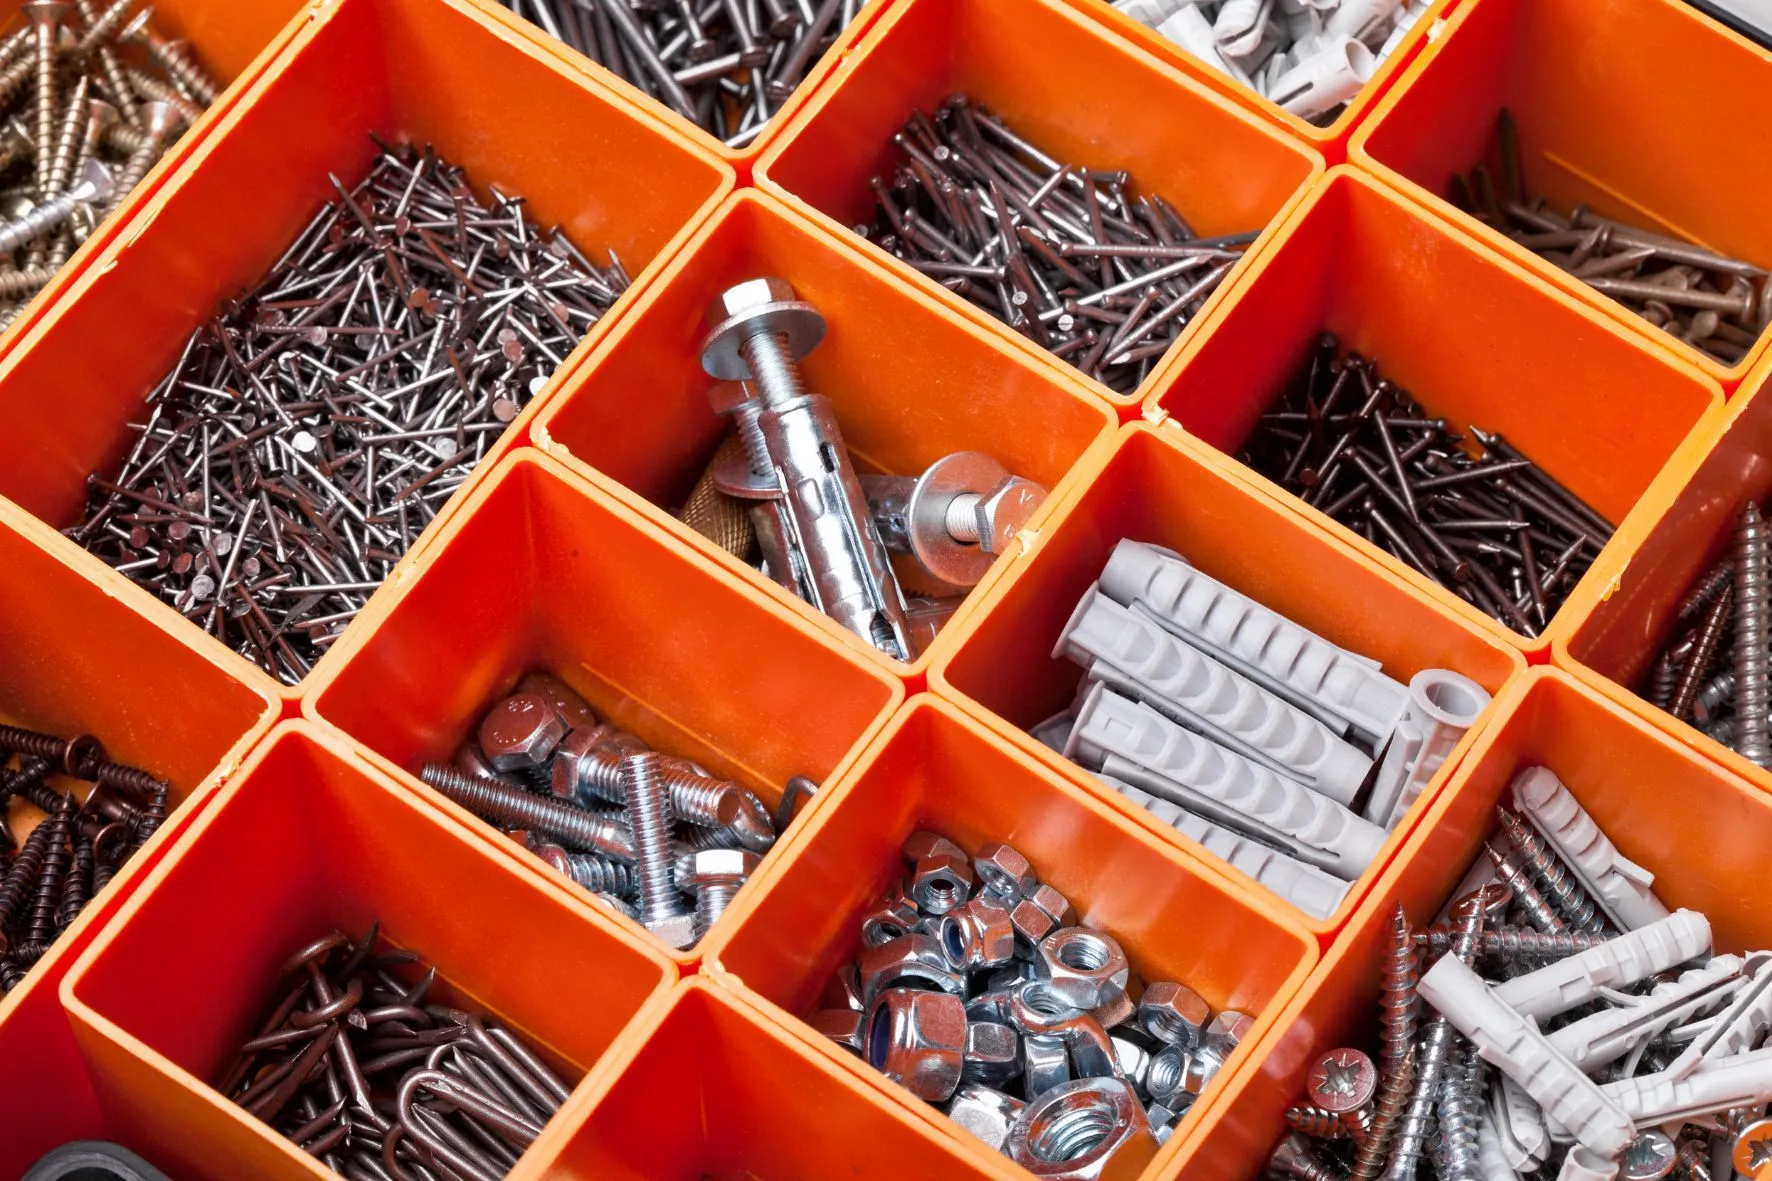
When dealing with smaller items such as nails, screws, and drill bits, keeping them organized and visible is crucial.
Clear containers are ideal for organizing smaller DIY items such as nails, screws, and drill bits. Label each container for easy identification and stack them neatly on shelves or in cabinets. This method allows you to quickly locate what you need without having to dig through boxes.
Clear containers allow you to see the contents at a glance, saving time and reducing frustration. Here’s how to organize smaller items using clear containers:
Steps to Organize Smaller Items
- Purchase Clear Containers: Buy clear plastic containers in various sizes to accommodate different types of small items.
- Label the Containers: Use labels to identify the contents of each container. This will help you quickly locate what you need.
- Organize by Category: Group similar items together in the containers. For example, keep nails of different sizes in separate containers and do the same for screws, drill bits, and other small items.
- Stack and Store: Stack the containers on shelves or in cabinets, making sure they are easily accessible. Arrange them in a way that allows you to see all the labels clearly.
Using clear containers to organize small items ensures that you can quickly find what you need without having to dig through boxes or drawers.

5. Work with a Modular System
If you have a large tool drawer or tote, adding custom modular storage dividers can keep things neat and organized, this approach is great for protecting tools and ensuring they are easy to find:
Modular storage systems with adjustable foam inserts offer a customizable solution that adapts to your ever-changing tool collection. These foam inserts are designed to protect tools from damage and misplacement, ensuring that each item has a secure, designated spot. This is particularly beneficial for delicate electronic tools and smaller accessories, as the foam padding helps prevent scratches, impacts, and other potential harm.
A modular system can be tailored to fit your specific tools and accessories, ensuring that each item has its designated place. Here’s how to set up a modular storage system:
Steps to Set Up a Modular System
- Choose the Storage Unit: Select a large tool drawer, tote, or cabinet that can accommodate your tools.
- Purchase Modular Inserts: Buy modular storage inserts that can be adjusted to fit different tools. Foam inserts are ideal for protecting delicate tools.
- Customize the Layout: Arrange the inserts in the storage unit, creating compartments for each type of tool. Adjust the layout as needed to accommodate new tools or accessories.
- Organize Your Tools: Place your tools in the designated compartments, ensuring that each tool is easily accessible and protected from damage.
A modular storage system keeps your tools organized and protected, making it easier to find and use them when needed.
6. Keep Tools Mobile with a Cart
If your projects happen all over the house, a mobile tool cart can be an excellent solution.
Perfect for individuals who work in various locations, a tool cart offers organized and portable storage, significantly enhancing efficiency by minimizing the time spent searching for tools. Opt for a tool cart with removable shelves, allowing you to easily take the necessary tier with you, even if you’re working upstairs.
A rolling cart allows you to move your tools effortlessly from room to room, ensuring that you always have your essentials within reach. Here’s how to set up a mobile tool cart:
Steps to Set Up a Mobile Tool Cart
- Choose the Cart: Select a three-tier rolling cart that can hold a variety of tools and accessories. Ensure the cart is sturdy and has smooth-rolling wheels.
- Organize the Shelves: Arrange your tools on the shelves, keeping frequently used items on the top tier for easy access. Use bins or trays to keep smaller items organized.
- Add Labels: Label each tier or section of the cart to quickly locate tools and accessories.
- Customize for Mobility: If possible, choose a cart with removable shelves. This allows you to take only what you need to different parts of your home, making your projects more efficient.
A mobile tool cart provides flexible and organized storage, ensuring that your tools are always within reach, no matter where you’re working.

Keeping your tools neat, organized, and easy to find will instantly make you more likely to finish your home DIY projects as you limit distractions and reduce your frustration when you can’t find the right drill bit or sanding paper. By implementing these six tricks, you can streamline your tool kit and create a more efficient and enjoyable workspace. Whether you have a dedicated garage or a small corner of your home, these storage solutions will help you keep your tools in order and ready for your next DIY project.
Implementing effective tool organization strategies not only enhances your productivity but also prolongs the life of your tools by keeping them safe and secure. These methods are adaptable to various spaces and budgets, ensuring that every DIY enthusiast can find a solution that works for them.
Remember, the key to maintaining an organized tool kit is consistency. Regularly review and reorganize your tools to accommodate new items and discard those you no longer need. With these tips, you can create a streamlined, efficient, and inspiring workspace that supports all your DIY endeavors. Happy organizing and happy DIY-ing!


