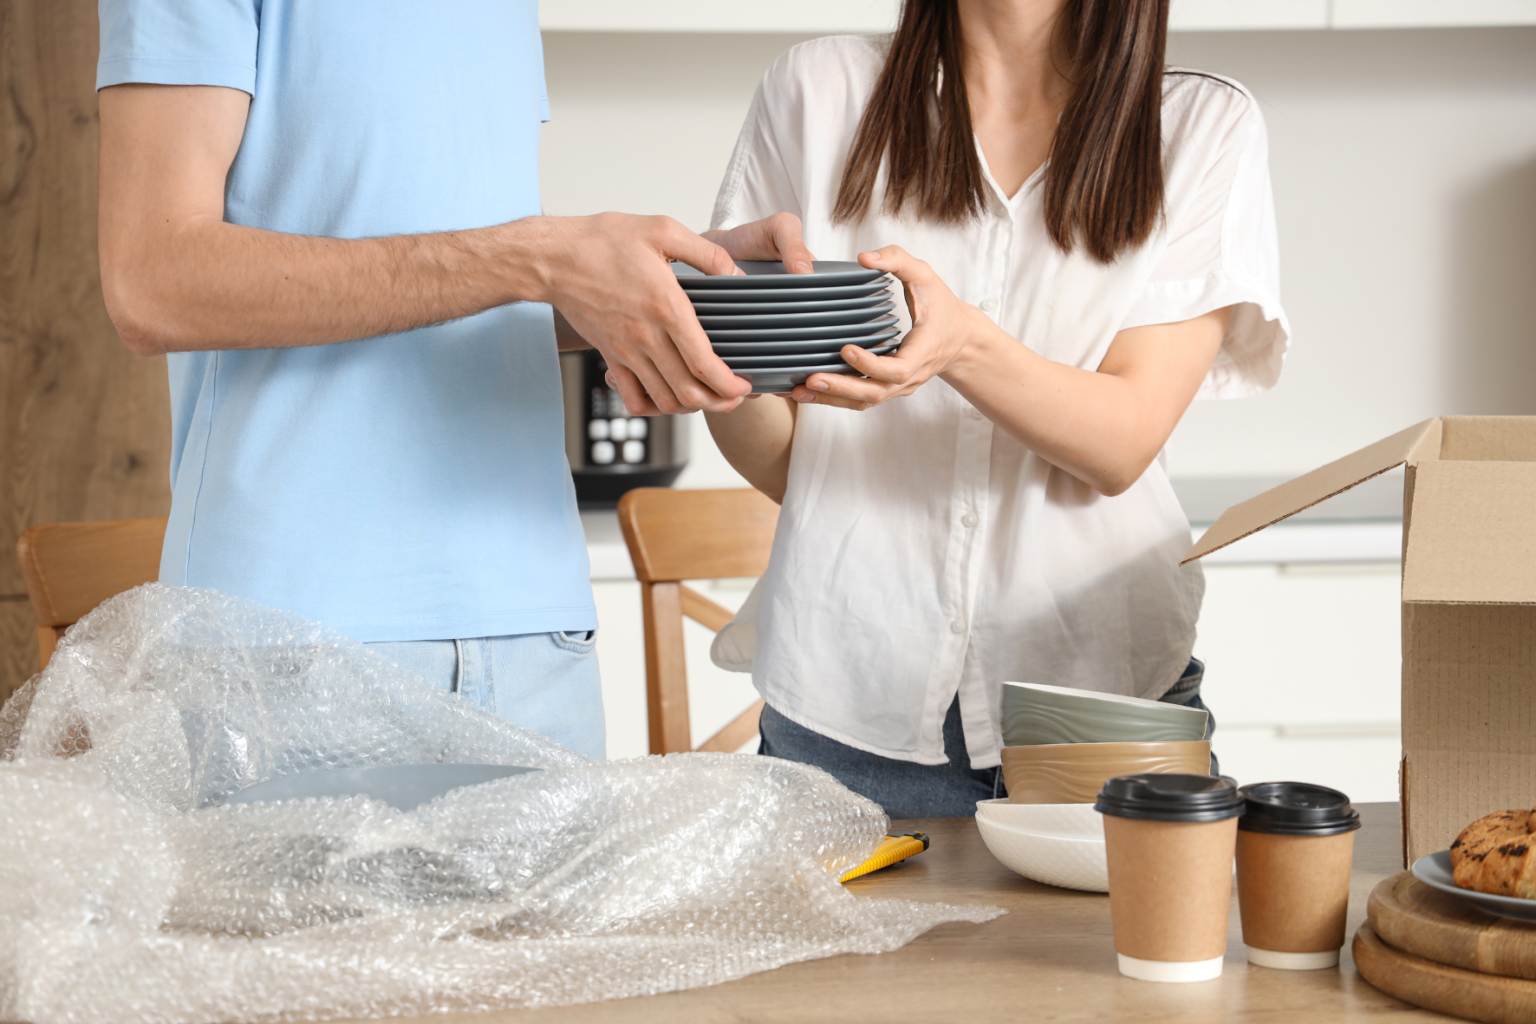
Moving to a new home is a thrilling yet challenging experience. Among the many tasks that come with relocating, packing your kitchen items—particularly fragile dishes and glassware—can be one of the most daunting. These items are not only delicate but also often hold sentimental value, making it crucial to pack them with great care.
With a little planning and the right techniques, you can protect your fragile kitchenware and ensure a smooth transition to your new home.
Decluttering Before Packing: The Foundation of an Organized Move
Before diving into the packing process, it’s essential to take some time to declutter your kitchen. Moving presents a perfect opportunity to evaluate which items are necessary and which can be left behind. Sorting through your dishes, cookware, and utensils can significantly reduce the number of items you need to pack, making the process more manageable and efficient.
The Benefits of Decluttering
Decluttering before a move serves several important purposes. Firstly, it decreases the volume of items you need to pack, which can save you time, energy, and even money, especially if you’re paying for professional movers. Secondly, it allows you to start fresh in your new home, free from items that no longer serve you. Finally, decluttering can be an emotionally liberating process, helping you let go of things that have been accumulating and cluttering your space.
Steps to Declutter Your Kitchen
- Sort by Category : Begin by categorizing your kitchen items into groups such as dishes, cookware, utensils, small appliances, and pantry items. This method will give you a clear picture of how much you have in each category and make it easier to decide what to keep.
- Evaluate Necessity and Condition: For each item, ask yourself if it is something you use regularly, if it is in good condition, and if it holds any sentimental value. Items that do not meet these criteria should be considered for donation, recycling, or disposal.
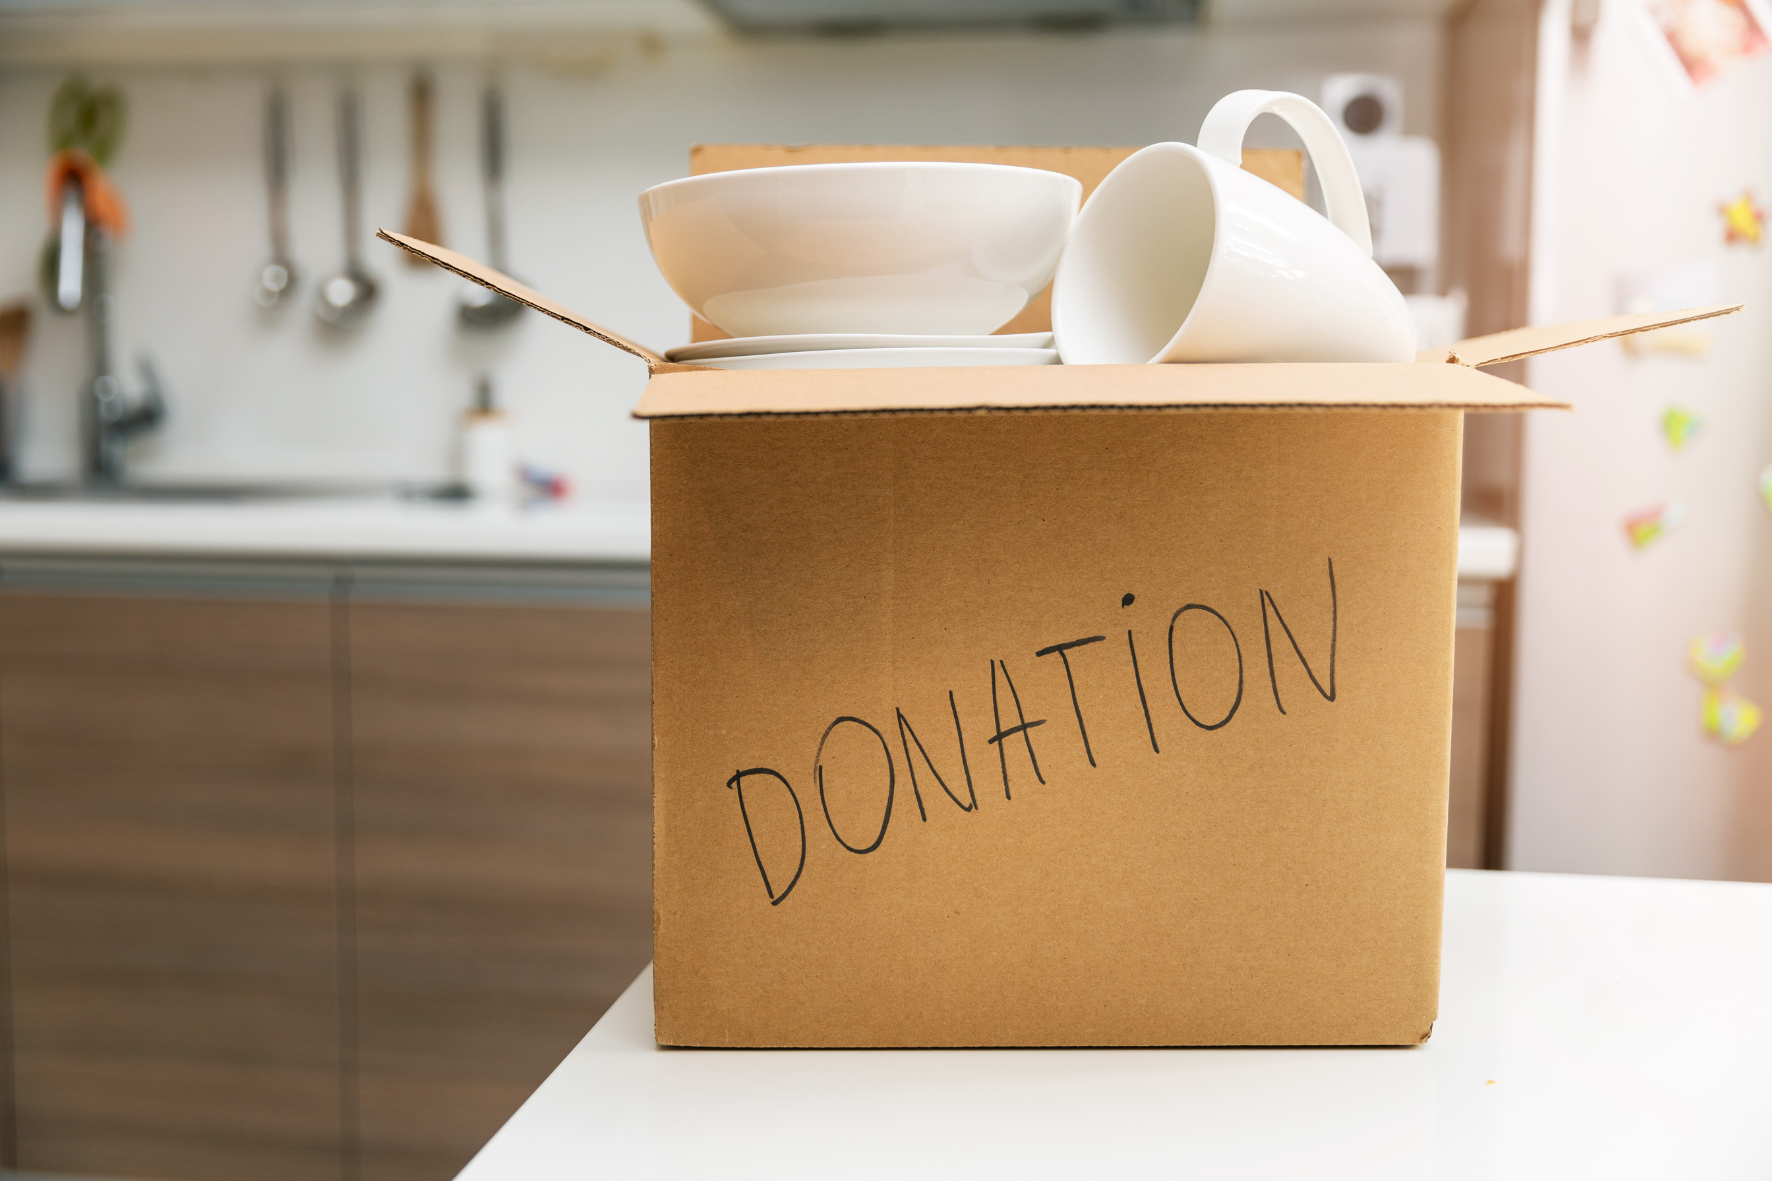
- Donate or Recycle: Many kitchen items that are still in good condition but no longer serve your needs can be donated to charity, given to friends or family, or recycled. By doing this, you not only reduce the load you need to move but also contribute positively to others.
- Dispose of Expired or Unwanted Food: As you declutter, don’t forget to check your pantry and refrigerator. Dispose of any expired food items and consider donating non-perishable goods that you won’t take with you.
Decluttering before packing simplifies the moving process and ensures that you start your new chapter with only the items you truly need and love.
Gathering the Right Packing Supplies: Setting Yourself Up for Success
After decluttering, the next step is to gather the necessary packing supplies. The right materials are crucial to providing your dishes with the protection they need during transit. Here’s a list of essential packing supplies:
Essential Packing Supplies
- Boxes: Opt for double-walled boxes, which are sturdier and more reliable than standard moving boxes. These boxes offer extra protection and are less likely to collapse under the weight of heavy dishes.
- Packing Tape: High-quality packing tape is a must for securing your boxes. Make sure to tape the bottom of each box thoroughly to prevent it from opening during the move.
- Cushioning Materials: Bubble cushioning roll is ideal for wrapping delicate items, while packing paper is great for filling gaps and providing additional support. Towels and soft cloths can also be used for extra padding.
- Scissors: Keep a pair of scissors handy for cutting tape and cushioning materials to the correct size.
- Permanent Markers: Use permanent markers to label your boxes with their contents and mark them as fragile. This will help movers handle them with care.
Additional Supplies to Consider
- Dish Packs : These specialized boxes come with dividers that help keep dishes, glasses, and other fragile items separate and secure. They are worth the investment if you have a lot of valuable kitchenware.
- Plastic Wrap: Plastic wrap can be used to bundle items together or to secure loose pieces, such as lids and attachments, to their corresponding items.
- Foam Sheets: Foam sheets can be placed between stacked dishes or used to wrap particularly fragile items for added protection.
Having the right packing supplies on hand before you begin will make the process of packing your kitchen items safer and more efficient.
Packing Dishes: The Basics of Safeguarding Fragile Items
Dishes are among the most delicate items in your kitchen, so it’s crucial to take extra care when packing them. Proper packing techniques will help prevent chips, cracks, and breakage during the move.
Step 1: Prepare Your Boxes
Before placing any dishes in a box, create a cushioning layer at the bottom. This can be done using bubble cushioning roll, packing paper, or even towels. The goal is to create a soft, shock-absorbent base that will protect your dishes from any bumps or jolts during the move.
Step 2: Wrap Each Dish Individually
To ensure maximum protection, wrap each dish individually. For fragile items like plates, bubble cushioning roll is ideal. Start by placing the dish in the center of a large sheet of cushioning material. Then, fold the corners over the dish and secure them with tape. If you’re using packing paper, be sure to use plenty of it to create a thick, protective layer around each dish.
Step 3: Pack Vertically
When placing dishes in the box, pack them vertically rather than stacking them flat. This method reduces the risk of breakage, as it distributes the weight more evenly. Place the dishes on their sides, with the largest and heaviest items evenly spaced.
Step 4: Fill Any Gaps
Once your box is full, fill any gaps with additional cushioning material. This prevents the dishes from shifting during transit, which could lead to damage. Crumpled packing paper, bubble cushioning roll, or soft cloths are all good options for filling empty spaces.
Step 5: Label the Box
After sealing the box with tape, label it with a permanent marker. Be sure to mark it as “Fragile” on all sides to ensure careful handling. If the box contains particularly valuable or sentimental items, you might also want to note this on the label.

How to Pack Plates for Moving: A Detailed Approach
Plates are particularly prone to chipping and breaking, so they require special attention when packing. Here’s a step-by-step guide to packing your plates:
Step 1: Create a Cushioning Layer
As mentioned earlier, start by placing a cushioning layer at the bottom of the box. This can be done using bubble cushioning roll, packing paper, or a thick towel. The cushioning layer will absorb any shocks or vibrations during the move, protecting your plates from damage.
Step 2: Wrap Each Plate Individually
Wrap each plate individually in bubble cushioning roll or several layers of packing paper. If you’re using packing paper, start by placing the plate in the center of a large sheet. Fold the corners of the paper over the plate, securing them with tape. Make sure each plate is fully covered and padded to prevent any direct contact between the plates.
Step 3: Pack Vertically
Place the wrapped plates vertically in the box, side by side. This method reduces the risk of breakage compared to stacking them horizontally.
Step 4: Fill Gaps
Fill any empty spaces in the box with additional cushioning material, such as crumpled packing paper or bubble cushioning roll. This will prevent the plates from shifting during transit, which could lead to damage.
Step 5: Top Layer of Cushioning
Once the box is full, add a final layer of cushioning on top to protect the plates from any impact from above. This could be a thick towel, a layer of bubble cushioning roll, or several sheets of packing paper.
Step 6: Label as Fragile
Seal the box with packing tape and label it as “Fragile” on all sides. This will ensure that the box is handled with care during the move.
How to Pack Bowls for Moving
Packing bowls is similar to packing plates, but with a few key differences. Bowls can be more challenging to pack because of their shape and the fact that they often come in various sizes.
Step 1: Cushion the Box
As always, start by placing a cushioning layer at the bottom of the box. This will help protect the bowls from any impact during the move.
Step 2: Wrap Each Bowl Individually
For non-breakable bowls, you can nestle them together, wrap them in packing paper, and place them in the box. For fragile bowls, wrap each one individually in bubble cushioning roll or packing paper. Place the bowl in the center of the cushioning material, fold the corners over the bowl, and secure with tape.
Step 3: Pack Vertically
Place the wrapped bowls vertically in the box, facing the same direction. This method reduces the risk of breakage by keeping the bowls securely in place.
Step 4: Fill Gaps and Cushion the Top
Fill any empty spaces in the box with cushioning material, such as crumpled packing paper or bubble cushioning roll. This will prevent the bowls from shifting during transit. Add a final layer of cushioning on top to protect the bowls from any impact from above.
Step 5: Label the Box
After sealing the box with tape, label it as “Fragile” on all sides. This will ensure that the box is handled with care during the move.

How to Pack Glassware and Stemware: Extra Care for Fragile Items
Glassware and stemware are some of the most delicate items in your kitchen, requiring extra care during packing. Here’s how to pack them to ensure they arrive at your new home intact:
Step 1: Wrap Each Glass Individually
Start by wrapping the stems of wine glasses and other delicate glassware with bubble cushioning roll. Then, wrap the entire glass, including the stem, in additional cushioning material. For added protection, you can stuff the inside of each glass with crumpled packing paper or small pieces of bubble cushioning roll.
Step 2: Pack with Care
Place the heaviest and sturdiest glasses at the bottom of the box, and the more delicate items on top. Avoid nesting glasses together, as this can increase the risk of breakage. Make sure each glass is securely wrapped and placed in the box with plenty of cushioning material around it.
Step 3: Cushion and Label
Add cushioning material around and on top of the glasses to protect them from any impact during the move. After sealing the box with tape, label it as “Fragile” on all sides to ensure careful handling.
Packing Other Kitchen Items: Utensils, Pots, and Pans
In addition to dishes and glassware, your kitchen is likely home to a variety of other items that need careful packing. Here’s how to pack them:
Utensils
Packing utensils is relatively straightforward, but there are a few tips to make the process even easier:
- Bundle and Tape: Group your silverware and other small utensils together, then bundle them with painters tape to keep them organized. You can then wrap the bundles in packing paper to protect them from scratches.
- Keep in Organizers: If your utensils are already organized in trays, you can keep them in the trays and wrap the entire tray in cushioning material before placing it in a box. This will save you time when unpacking.
- Pack Knives Carefully: Knives require special attention. Wrap each knife individually in packing paper, then bundle them together and wrap the bundle in bubble cushioning roll. This prevents the knives from cutting through the packaging or damaging other items.
How to Pack Sharp Knives for Moving
Packing sharp knives requires extra care to avoid accidents and protect your other belongings. It’s essential to ensure that each knife is safely wrapped to prevent them from puncturing through the packaging during the move.
Start by wrapping each knife individually, using several sheets of packing paper for thick protection. Once all the knives are wrapped, bundle them together and secure the bundle with bubble cushioning roll for added safety.
Make sure everything is taped securely to prevent any knives from slipping out of the packaging. Taking these precautions will help ensure a safe and efficient move.
Pots and Pans
Pots and pans are durable, but they can still be damaged during a move if not packed properly:
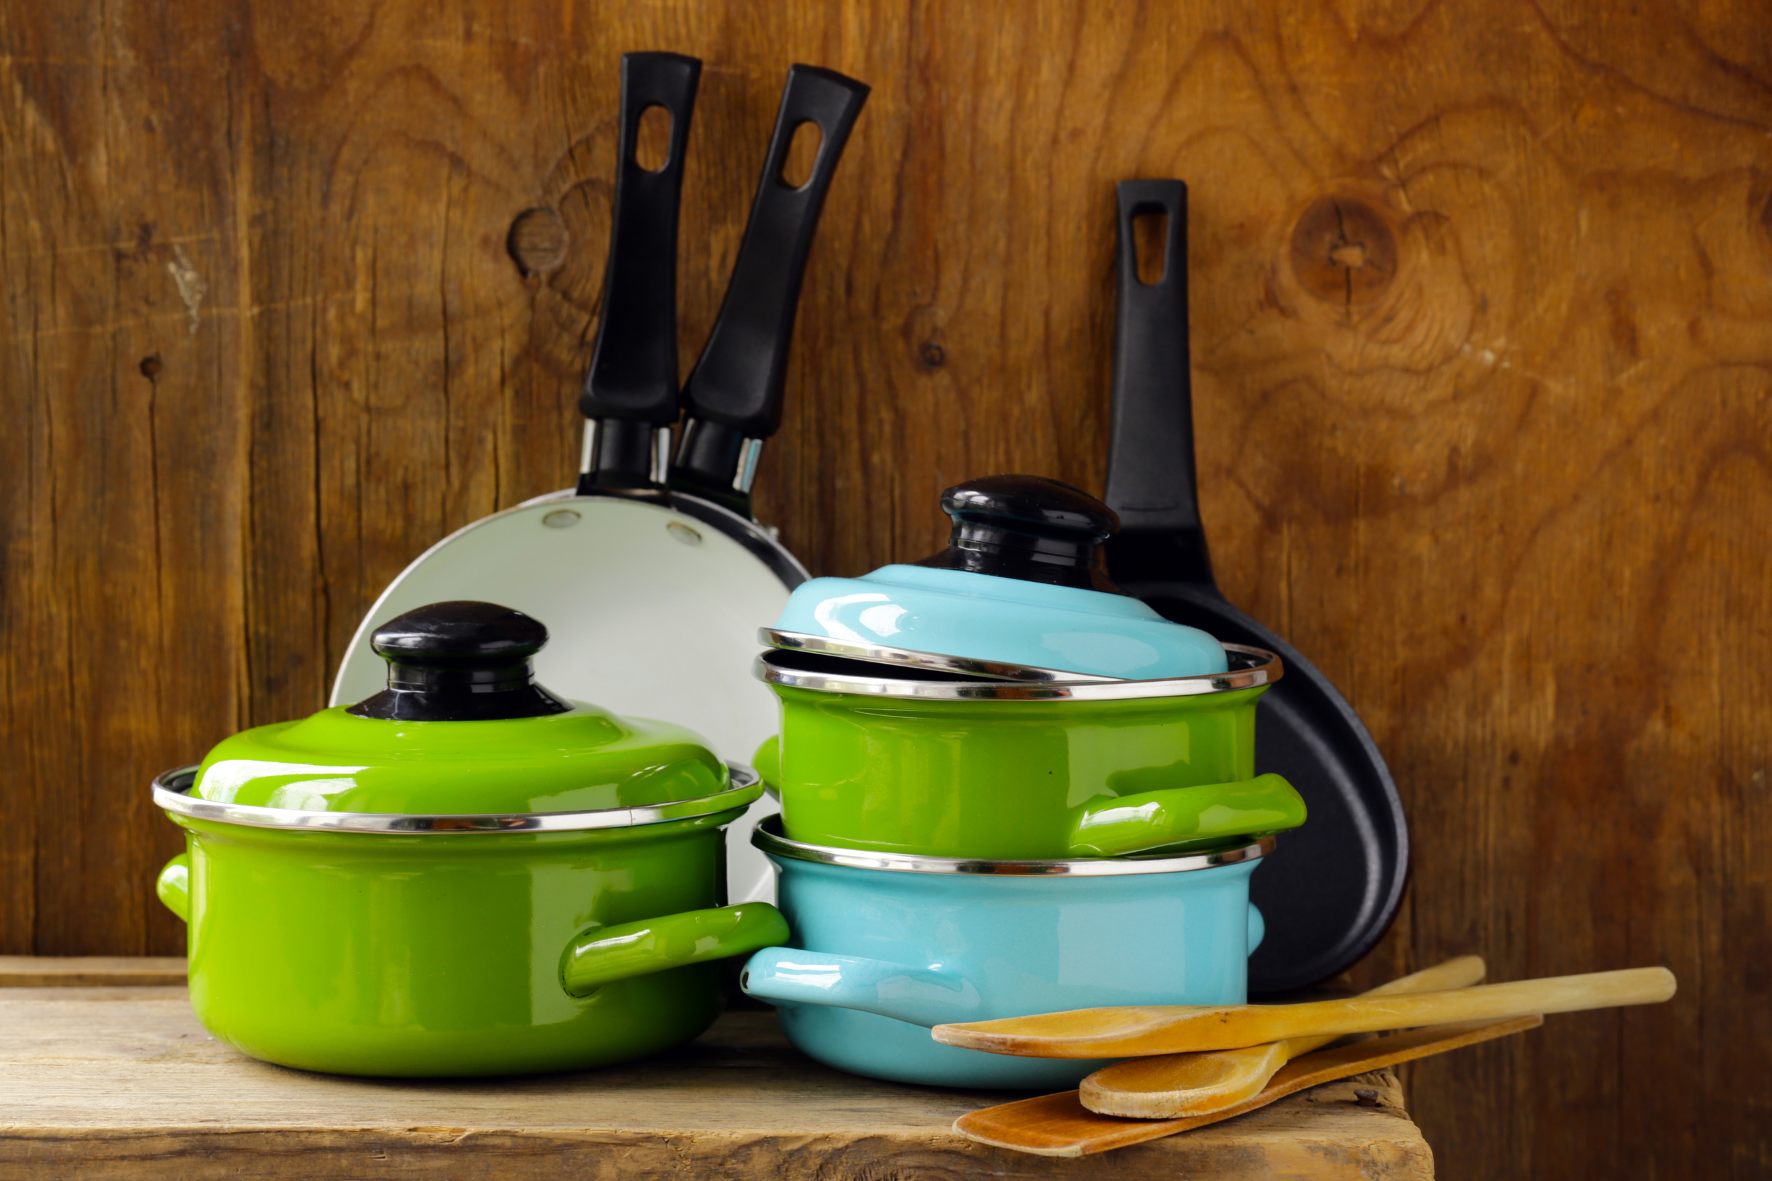
- Wrap Each Item: Wrap each pot and pan in packing paper to prevent scratches. If space allows, you can also nest smaller pots and pans inside larger ones, placing a layer of packing paper between each item.
- Pack Lids Separately: If your pots and pans have glass lids, wrap each lid individually in bubble cushioning roll and pack them separately from the pots and pans. This will help prevent the lids from breaking during the move.
- Label as Heavy: After sealing the box with packing tape, label it as “Heavy” to ensure it’s handled with care. This will also help you or your movers know that the box should be placed on the bottom of a stack to avoid crushing other items.
How to Pack Kitchen Appliances
Kitchen appliances, both large and small, are often some of the most valuable items in your kitchen. Proper packing is essential to ensure they arrive at your new home in working order.
Step 1: Disassemble if Possible
If your appliances have removable parts, such as blades, trays, or attachments, disassemble them before packing. Wrap each part individually in packing paper or bubble cushioning roll to prevent them from getting lost or damaged during the move.
Step 2: Wrap the Appliance
Wrap the main body of each appliance in packing paper or bubble cushioning roll. Be sure to add extra padding to any sharp edges or protruding parts to prevent damage.
Step 3: Pack in Sturdy Boxes
Place the wrapped appliances in sturdy boxes, filling any gaps with cushioning material to prevent them from shifting during transit. If you have the original packaging, use it, as it’s often the best option for protecting your appliances.
Step 4: Label and Handle with Care
After sealing the box with packing tape, label it with the contents and mark it as “Fragile” if necessary. This will help ensure that your appliances are handled with care and can be easily located when you arrive at your new home.
Packing Speciality Items: China and Stemware
China and other specialty items require the most care during packing due to their high value, both monetary and sentimental. Here’s how to pack them:
Step 1: Double Wrap
Wrap each piece of china in a soft cloth or towel first, then in several layers of packing paper, and finally in bubble cushioning roll for maximum protection. This triple-layer approach ensures that your china is protected from all angles and reduces the risk of breakage.
Step 2: Use Specialty Boxes
If possible, use dish-specific or glassware-specific boxes that come with dividers. These boxes provide added protection and make it easier to pack and transport your delicate items. The dividers keep each piece separate, reducing the risk of them bumping into each other and breaking.
Step 3: Label and Handle with Care
Clearly label these boxes as “Fragile” and ensure they are handled with the utmost care during the move. If you’re hiring movers, be sure to point out these boxes and instruct them to handle them with extra caution.
How to Pack Baby Supplies for Moving
When moving with a baby, organizing their supplies is key to reducing stress. For items like bottles, plates, and sippy cups, it’s best to pack them all together in one box. This makes it easy to find everything in one place once you arrive at your new home, saving you time and hassle during the unpacking process.
Good news: You don’t have to wrap each item individually unless you prefer to. Most baby items are designed to be durable, so they can usually withstand the move without needing extensive protection. By keeping everything together and organized, you’ll make the moving experience smoother for your whole family.
Packing with Care
Packing your kitchen items, especially delicate dishes and glassware, requires careful planning and the right materials. By following these detailed steps and using the proper techniques, you can ensure your kitchen items arrive at your new home in perfect condition.
Remember, the key to a successful move is preparation. Start by decluttering your kitchen, gather the necessary packing supplies, and take your time to pack each item with care. Whether you’re moving across town or across the country, these tips will help make your move as smooth and stress-free as possible.
Taking the time to properly pack your kitchen items not only protects your belongings but also gives you peace of mind knowing that your cherished items will arrive safely at your new home. By following these guidelines, you’ll be well on your way to a successful and organized move.


